 Mosaic Masterclasses in London
It has been a few weeks now but I finally want to write a few words about the training I took towards the end of July this year: King’s Collage Mosaic Masterclasses. Over a week we have looked into various techniques of cutting, setting and fixing our mosaics. We were lucky enough to have lectures by such well-established artists and icons of the mosaic world as Gary Drostle, Giulia Vogrig, Chris Smith, Alessandro Lugari. The masterclass was kindly hosted and organised by Will Wootton and Tamara Froud.
Hammer & Hardie
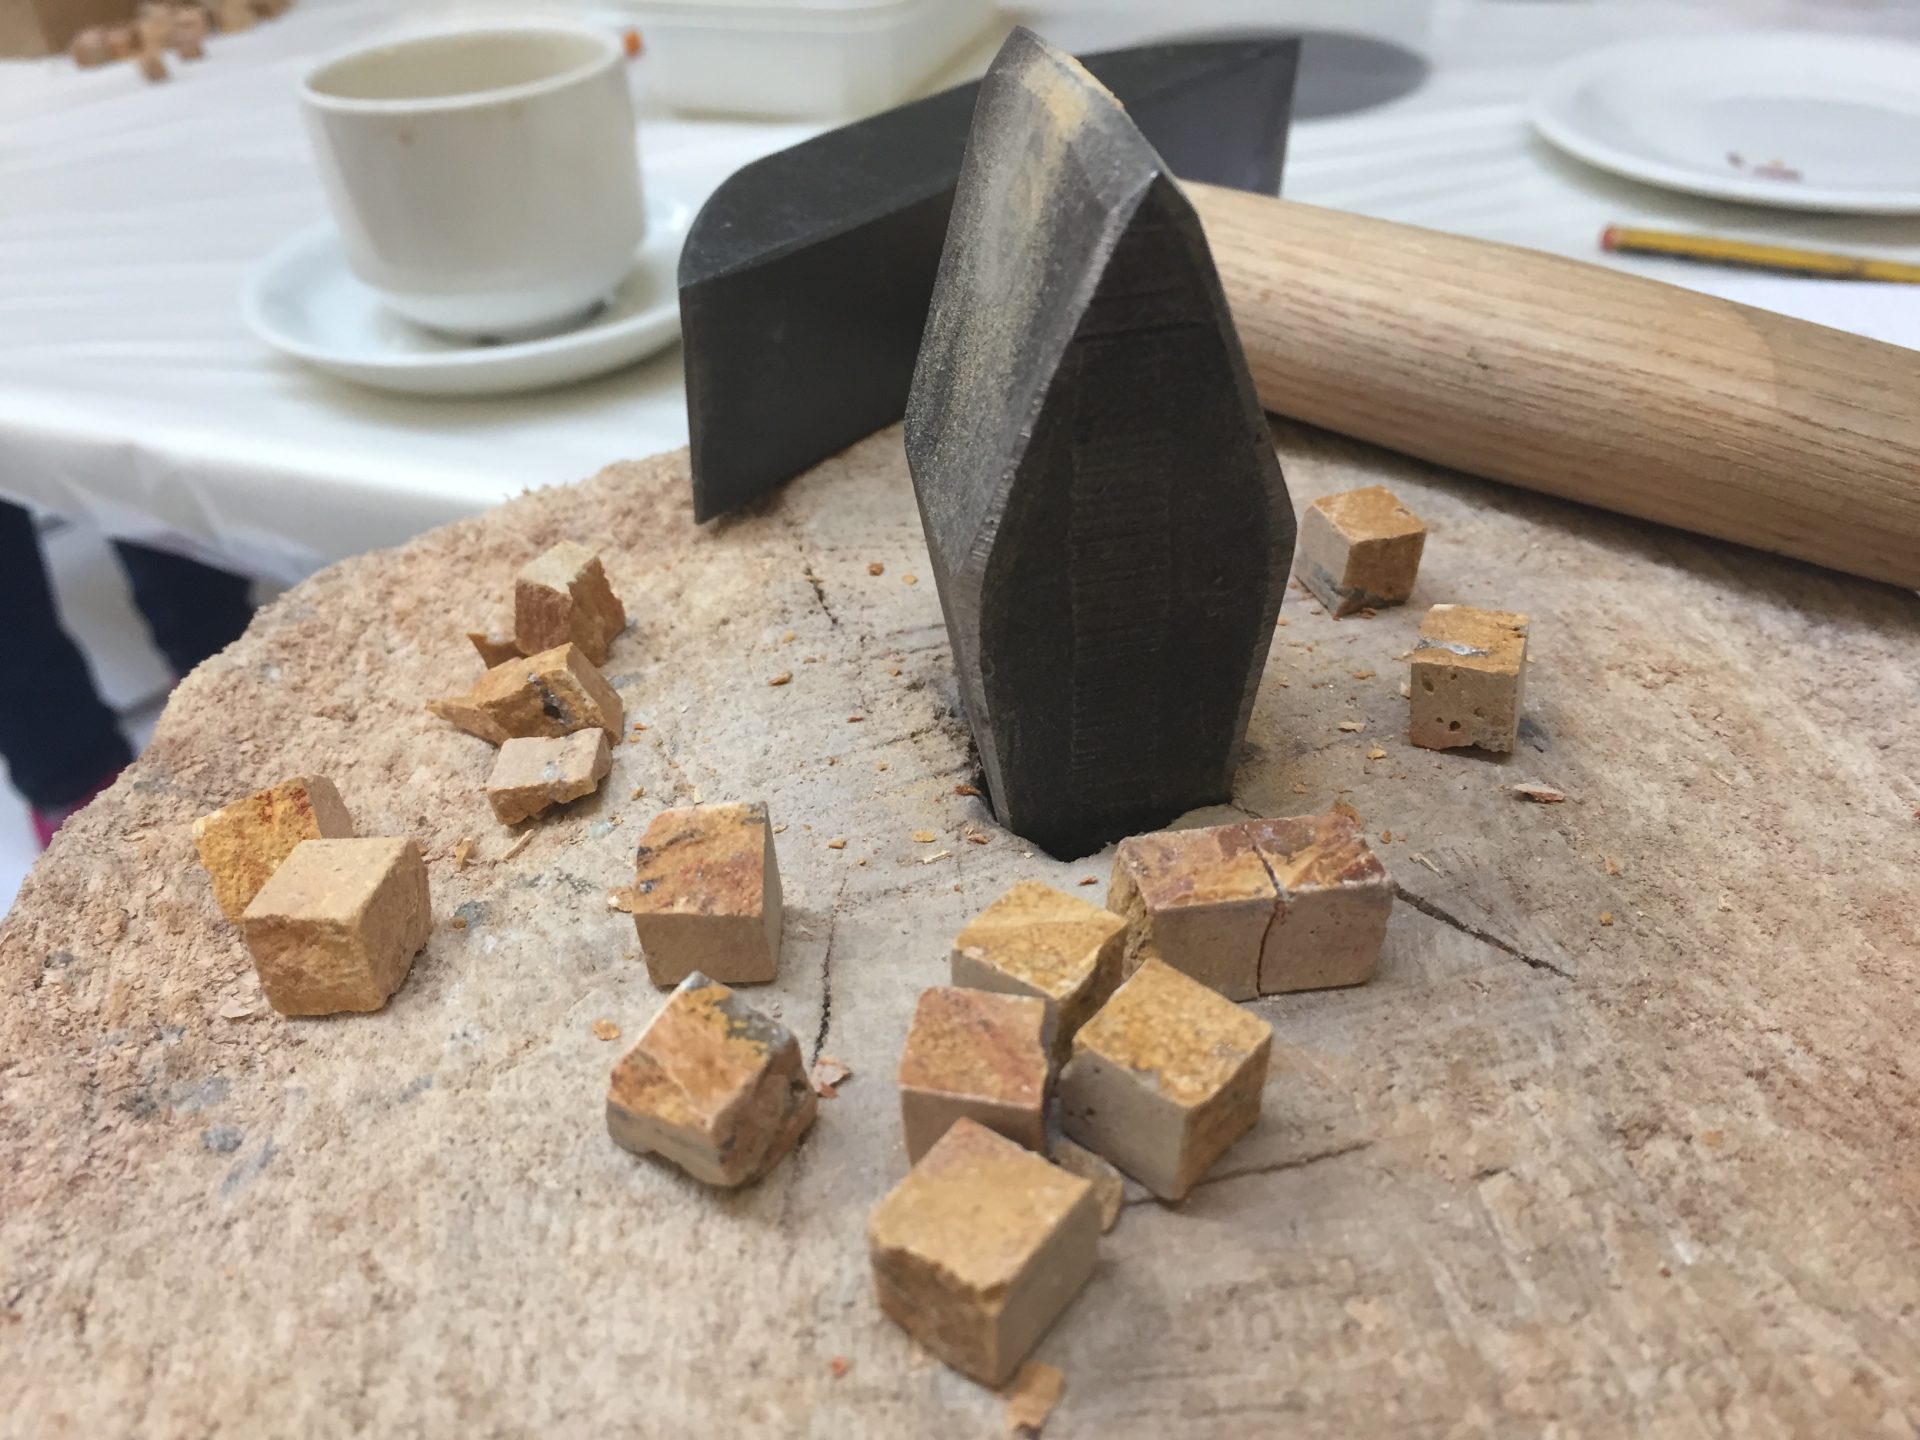
Today I wanted to share with you a few notes and pictures about Day 1: Cutting with Hammer & Hardie led by Giulia Vogrig. I have been very excited about this one! I haven’t used this technique myself but I really wanted to try! I got a few lovely bags of smalti for my b’day and I was very eager to use them but at home, I don’t have tools for that.
How to choose the correct hammer?
First things first, Giulia talked about specifics of the hammer and showed us how to choose a correct size for yourself. Hammers usually weight between 450 gr – 1 kg. The smaller are better for glass and other lighter materials but you will need the heavy one for harder stones. The trick is that the force doesn’t come from the blow, it comes from the hammer weight. So keep your elbow close to your body and remember to keep the wrist still, the correct blow comes from the elbow and not the wrist. The size of the hammer should be more or less the length of your forearm so try a few before you find the perfect match for you.
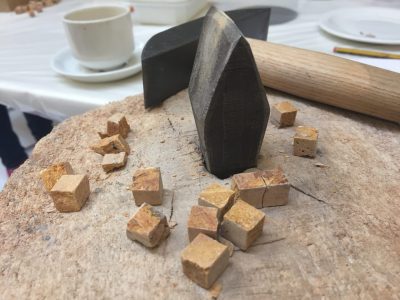
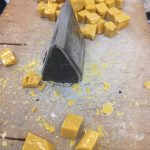
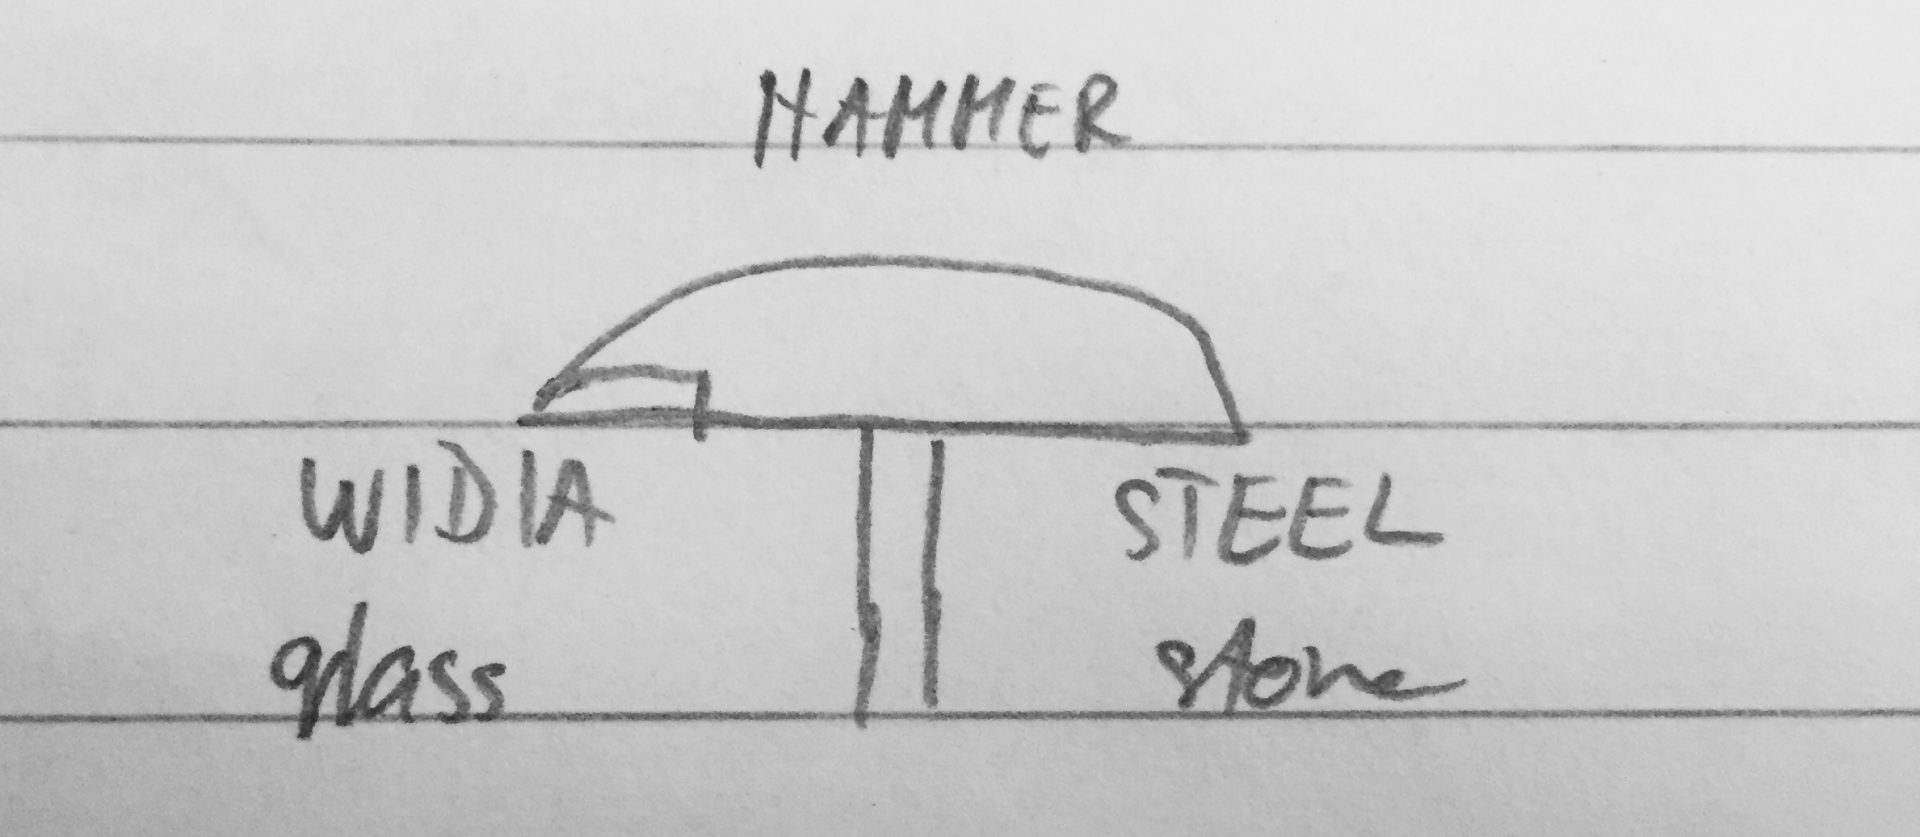 The interesting thing to know is also that hammers have two cutting sides: the widia (tungsten carbide) which is good for cutting glass and steel side better for hard stones (pic.1). However, if you have to cut big stones, start using the geological hammer – it will be easier.
And the last tip about the hammer: you will need to keep the hammer sharp but not the hardie. You don’t want the ‘cutting’ to come from both sides as it will damage the material.
How to position the hardie?
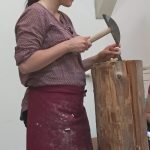
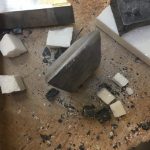
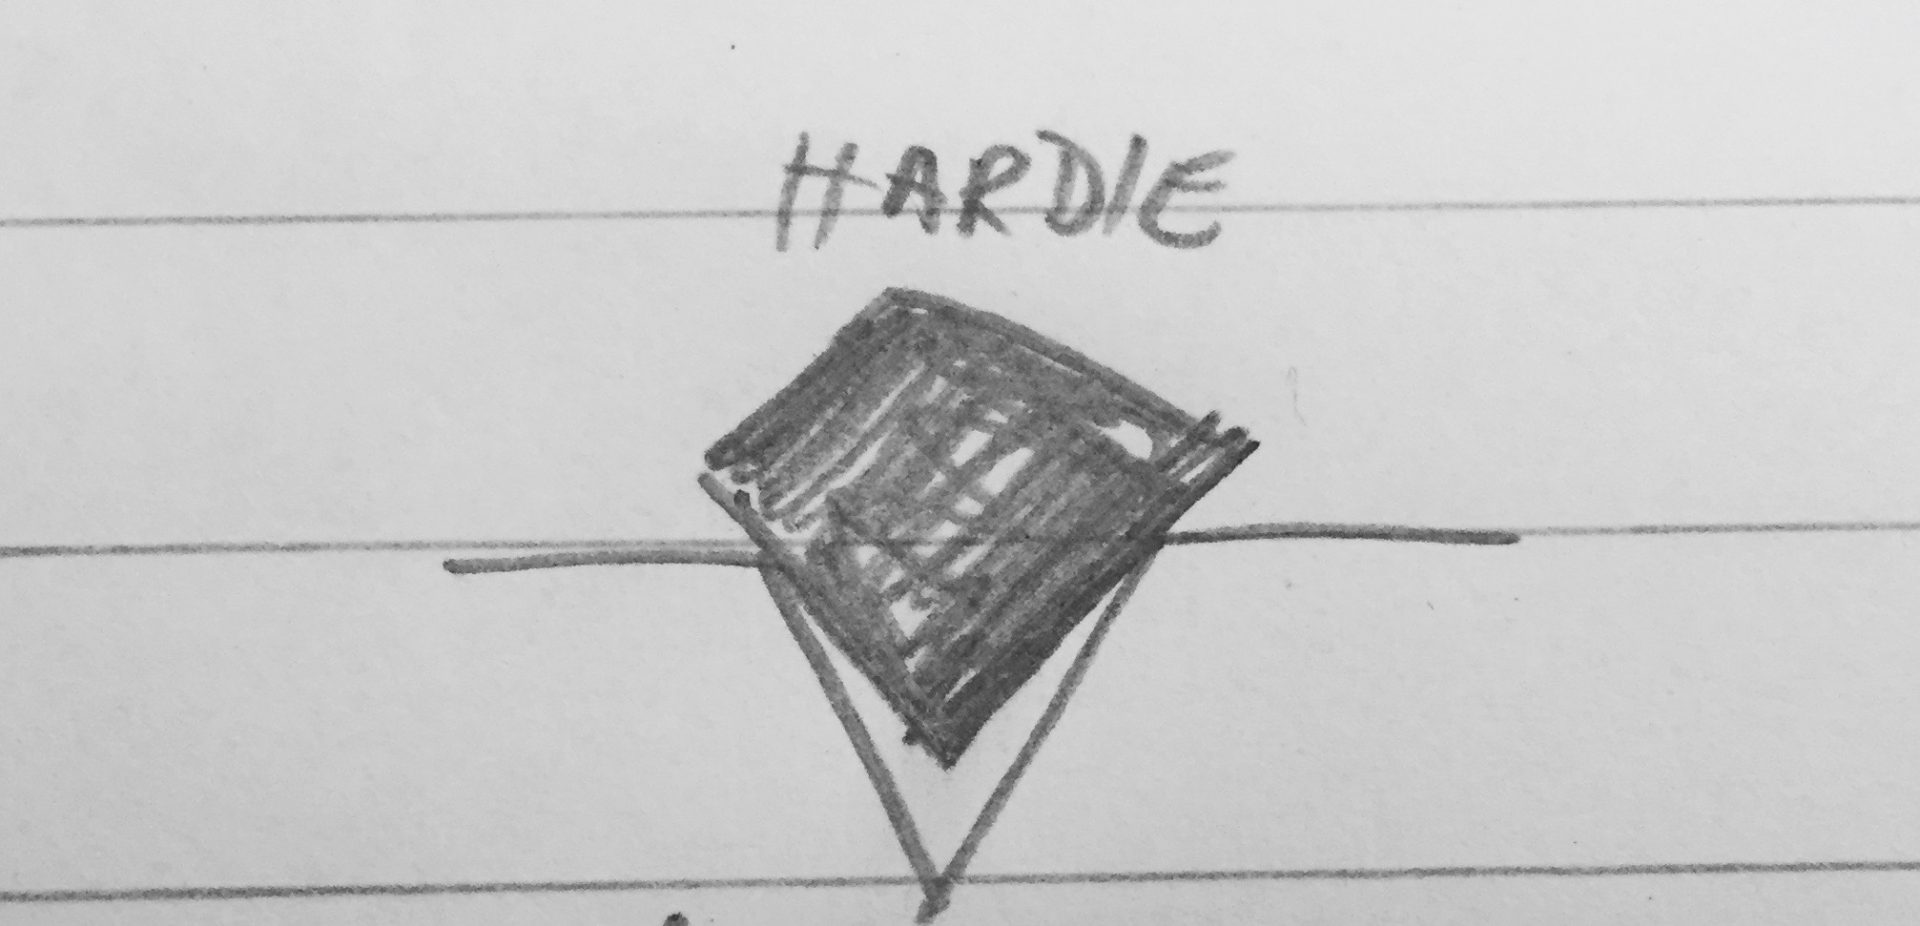 Hardie is usually placed in the wooden base of 30 cm diameter. The best wood to choose for that is either the hornbeam or beech. Using drill and chisel dig out the whole similar to picture on the left (pic.2) but remember not to place is too low, there needs to be a space to absorb the blow. The height of the hardie should usually be about 80 cm for sitting and 100-120 cm if standing.
These are just a few notes from the truly amazing day with Giulia so if you ever get a chance to attend her workshop she is very skilled and knowledgeable!
The joy of the materials!
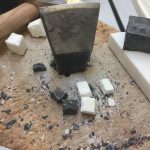
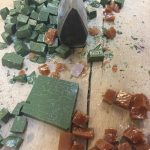
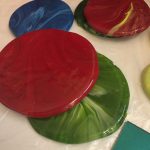
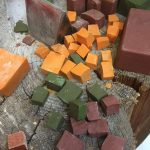
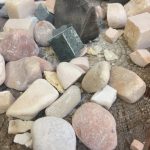
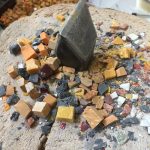
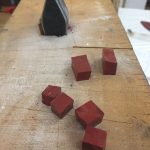
Onto the cutting! Oh how lucky we were to be able to try a waste variety of different materials: stunning range of colours of smalti, marbles and other natural stones and some litovi, a fairly new type of high-tech mosaic stone. It brings together the specifics of marble with the rich colour-range of the smaltis. We’ve done so much cutting that day that my hand still hurts! 🙂 It all came very handy the next day when we started working on our Roman mosaic including incredible guiosh! Part 2 comming soon!

Pingback: Off the Beaten Path | Inn of Bards Rest